Making a lookup table (LUT) for ImageJ from an existing image
First published: January 5, 2020
Last updated: December 3, 2023
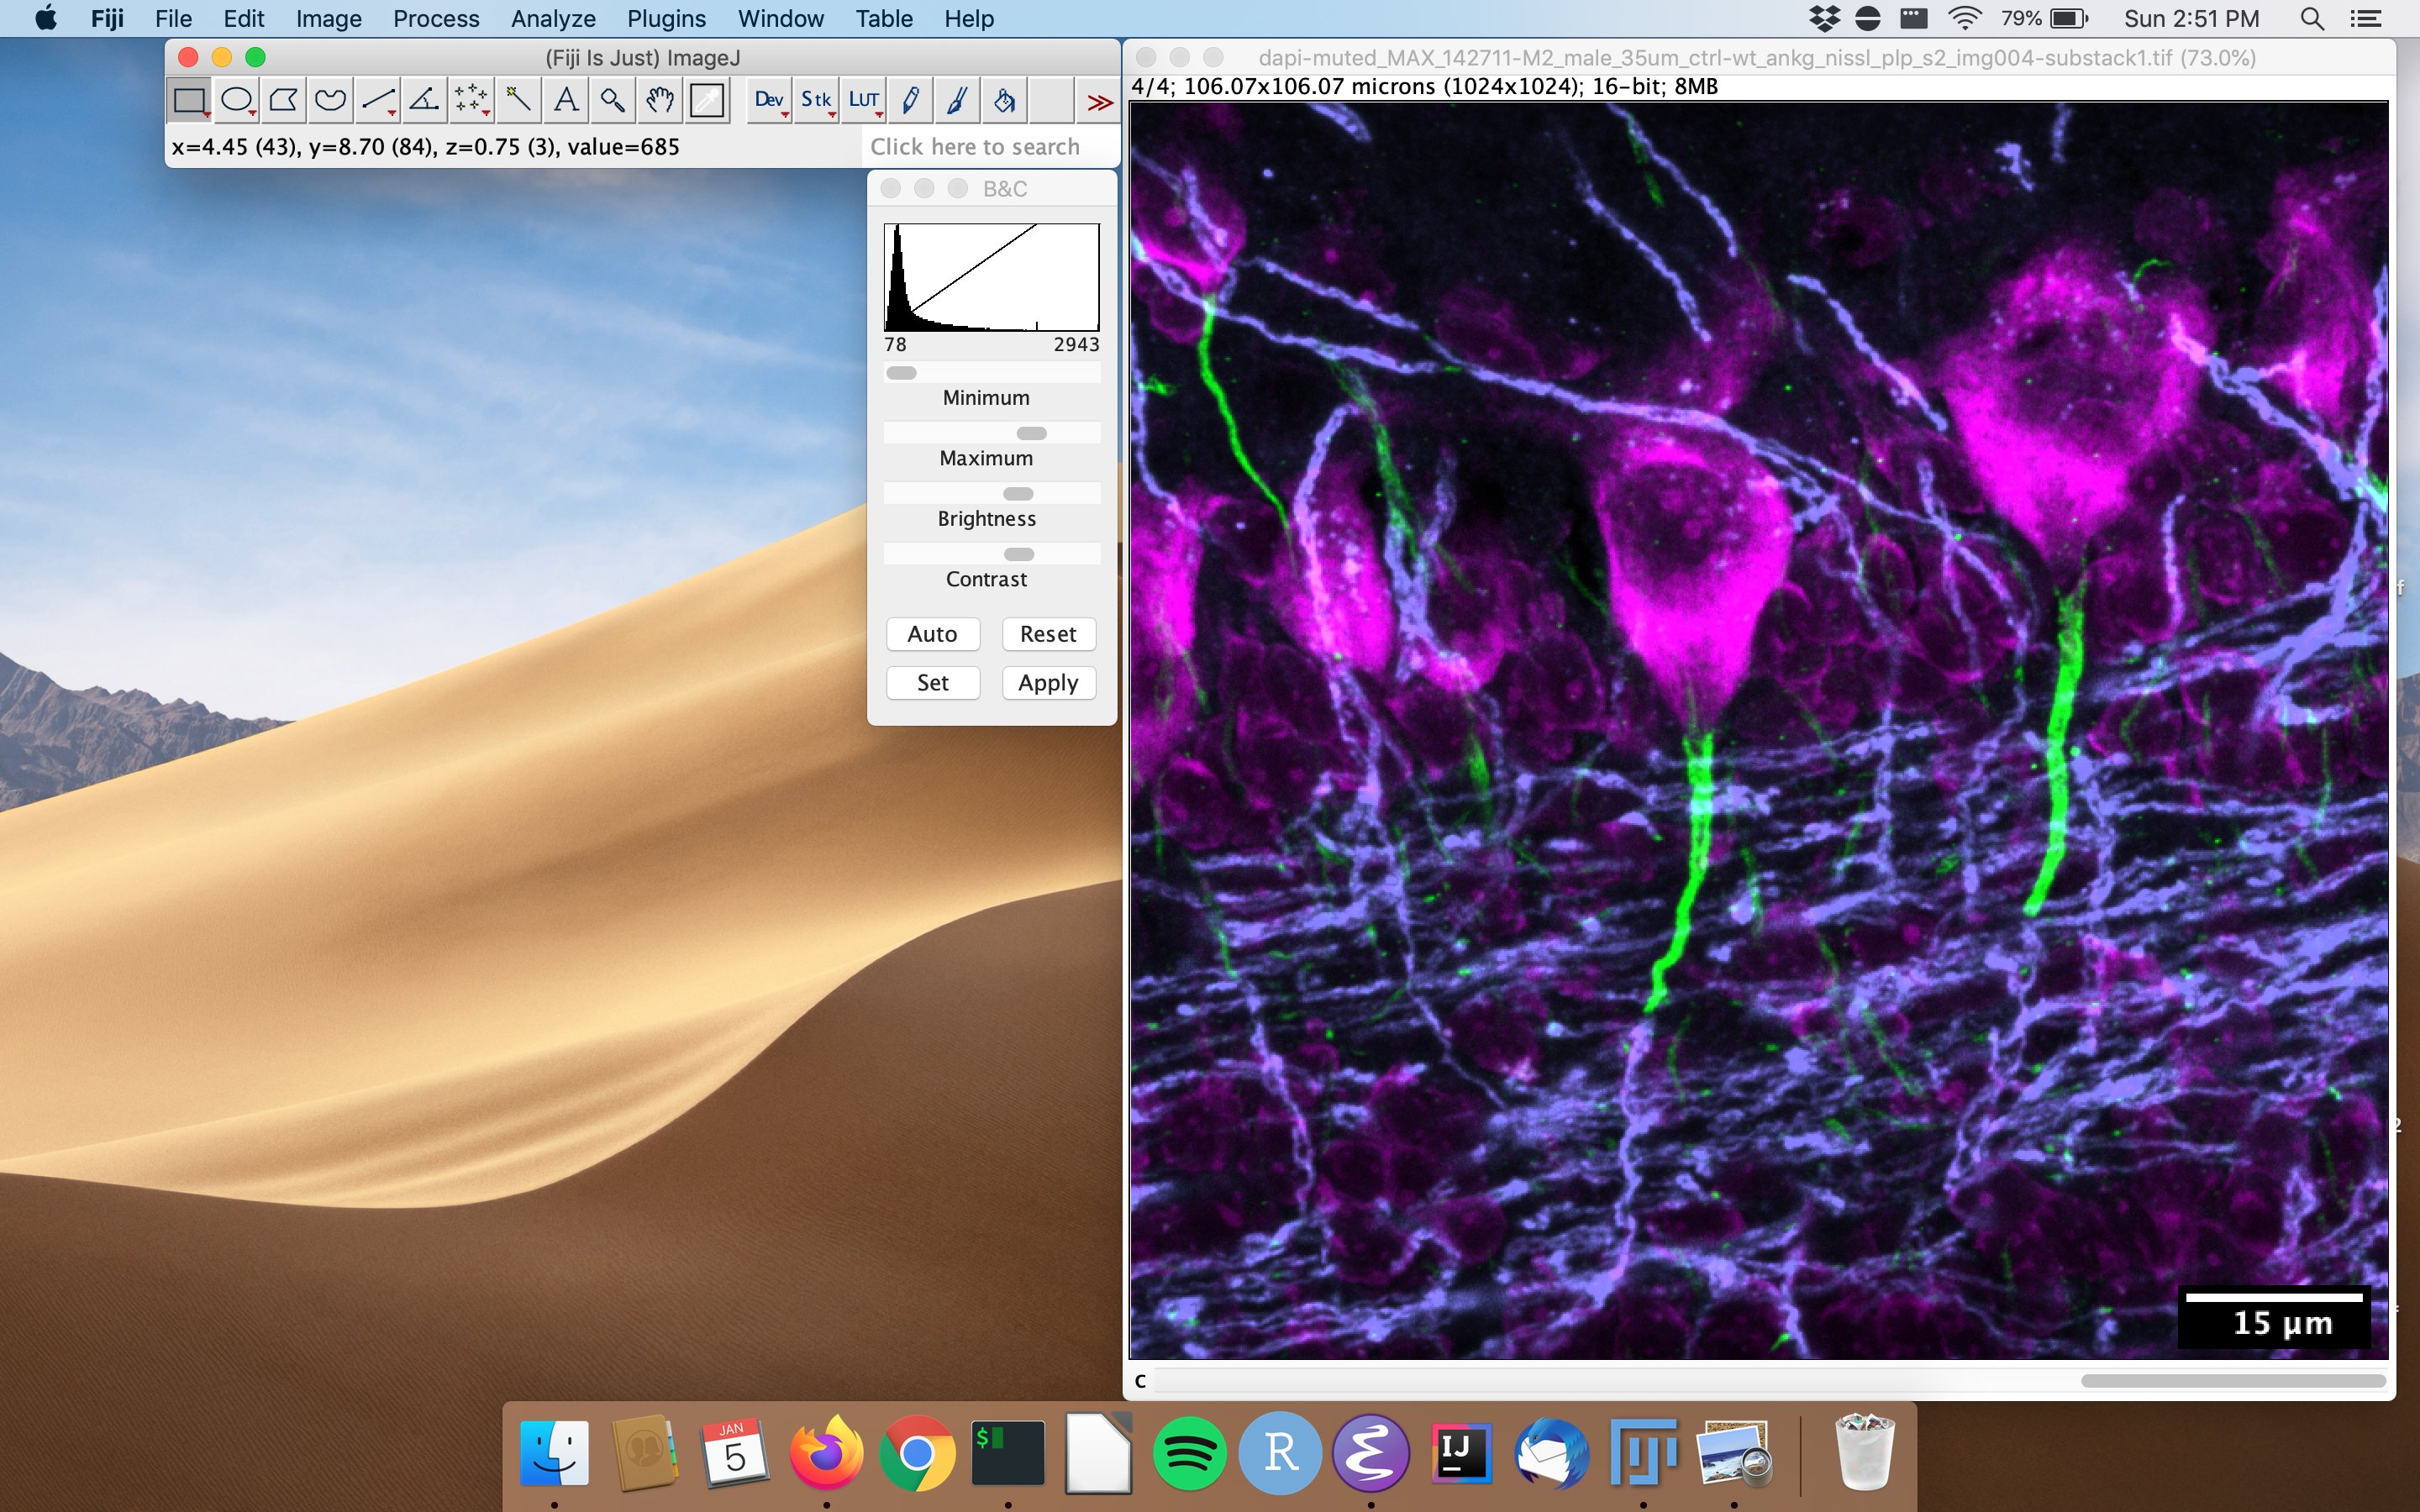
ImageJ lookup tables (LUTs) map integer or floating point pixel values to colors. ImageJ comes with a lot of nice LUTs and there are many available on the internet as well (Christophe Leterrier has excellent ones available here https://github.com/cleterrier/ChrisLUTs). I recently wanted to make my own based on a colormap on an image exported from our microscope (myelin is the blue-ish color below that I wanted to use).

Creating your own LUT from a reference image
- Open up the image and switch to your target channel (in this case channel 4).
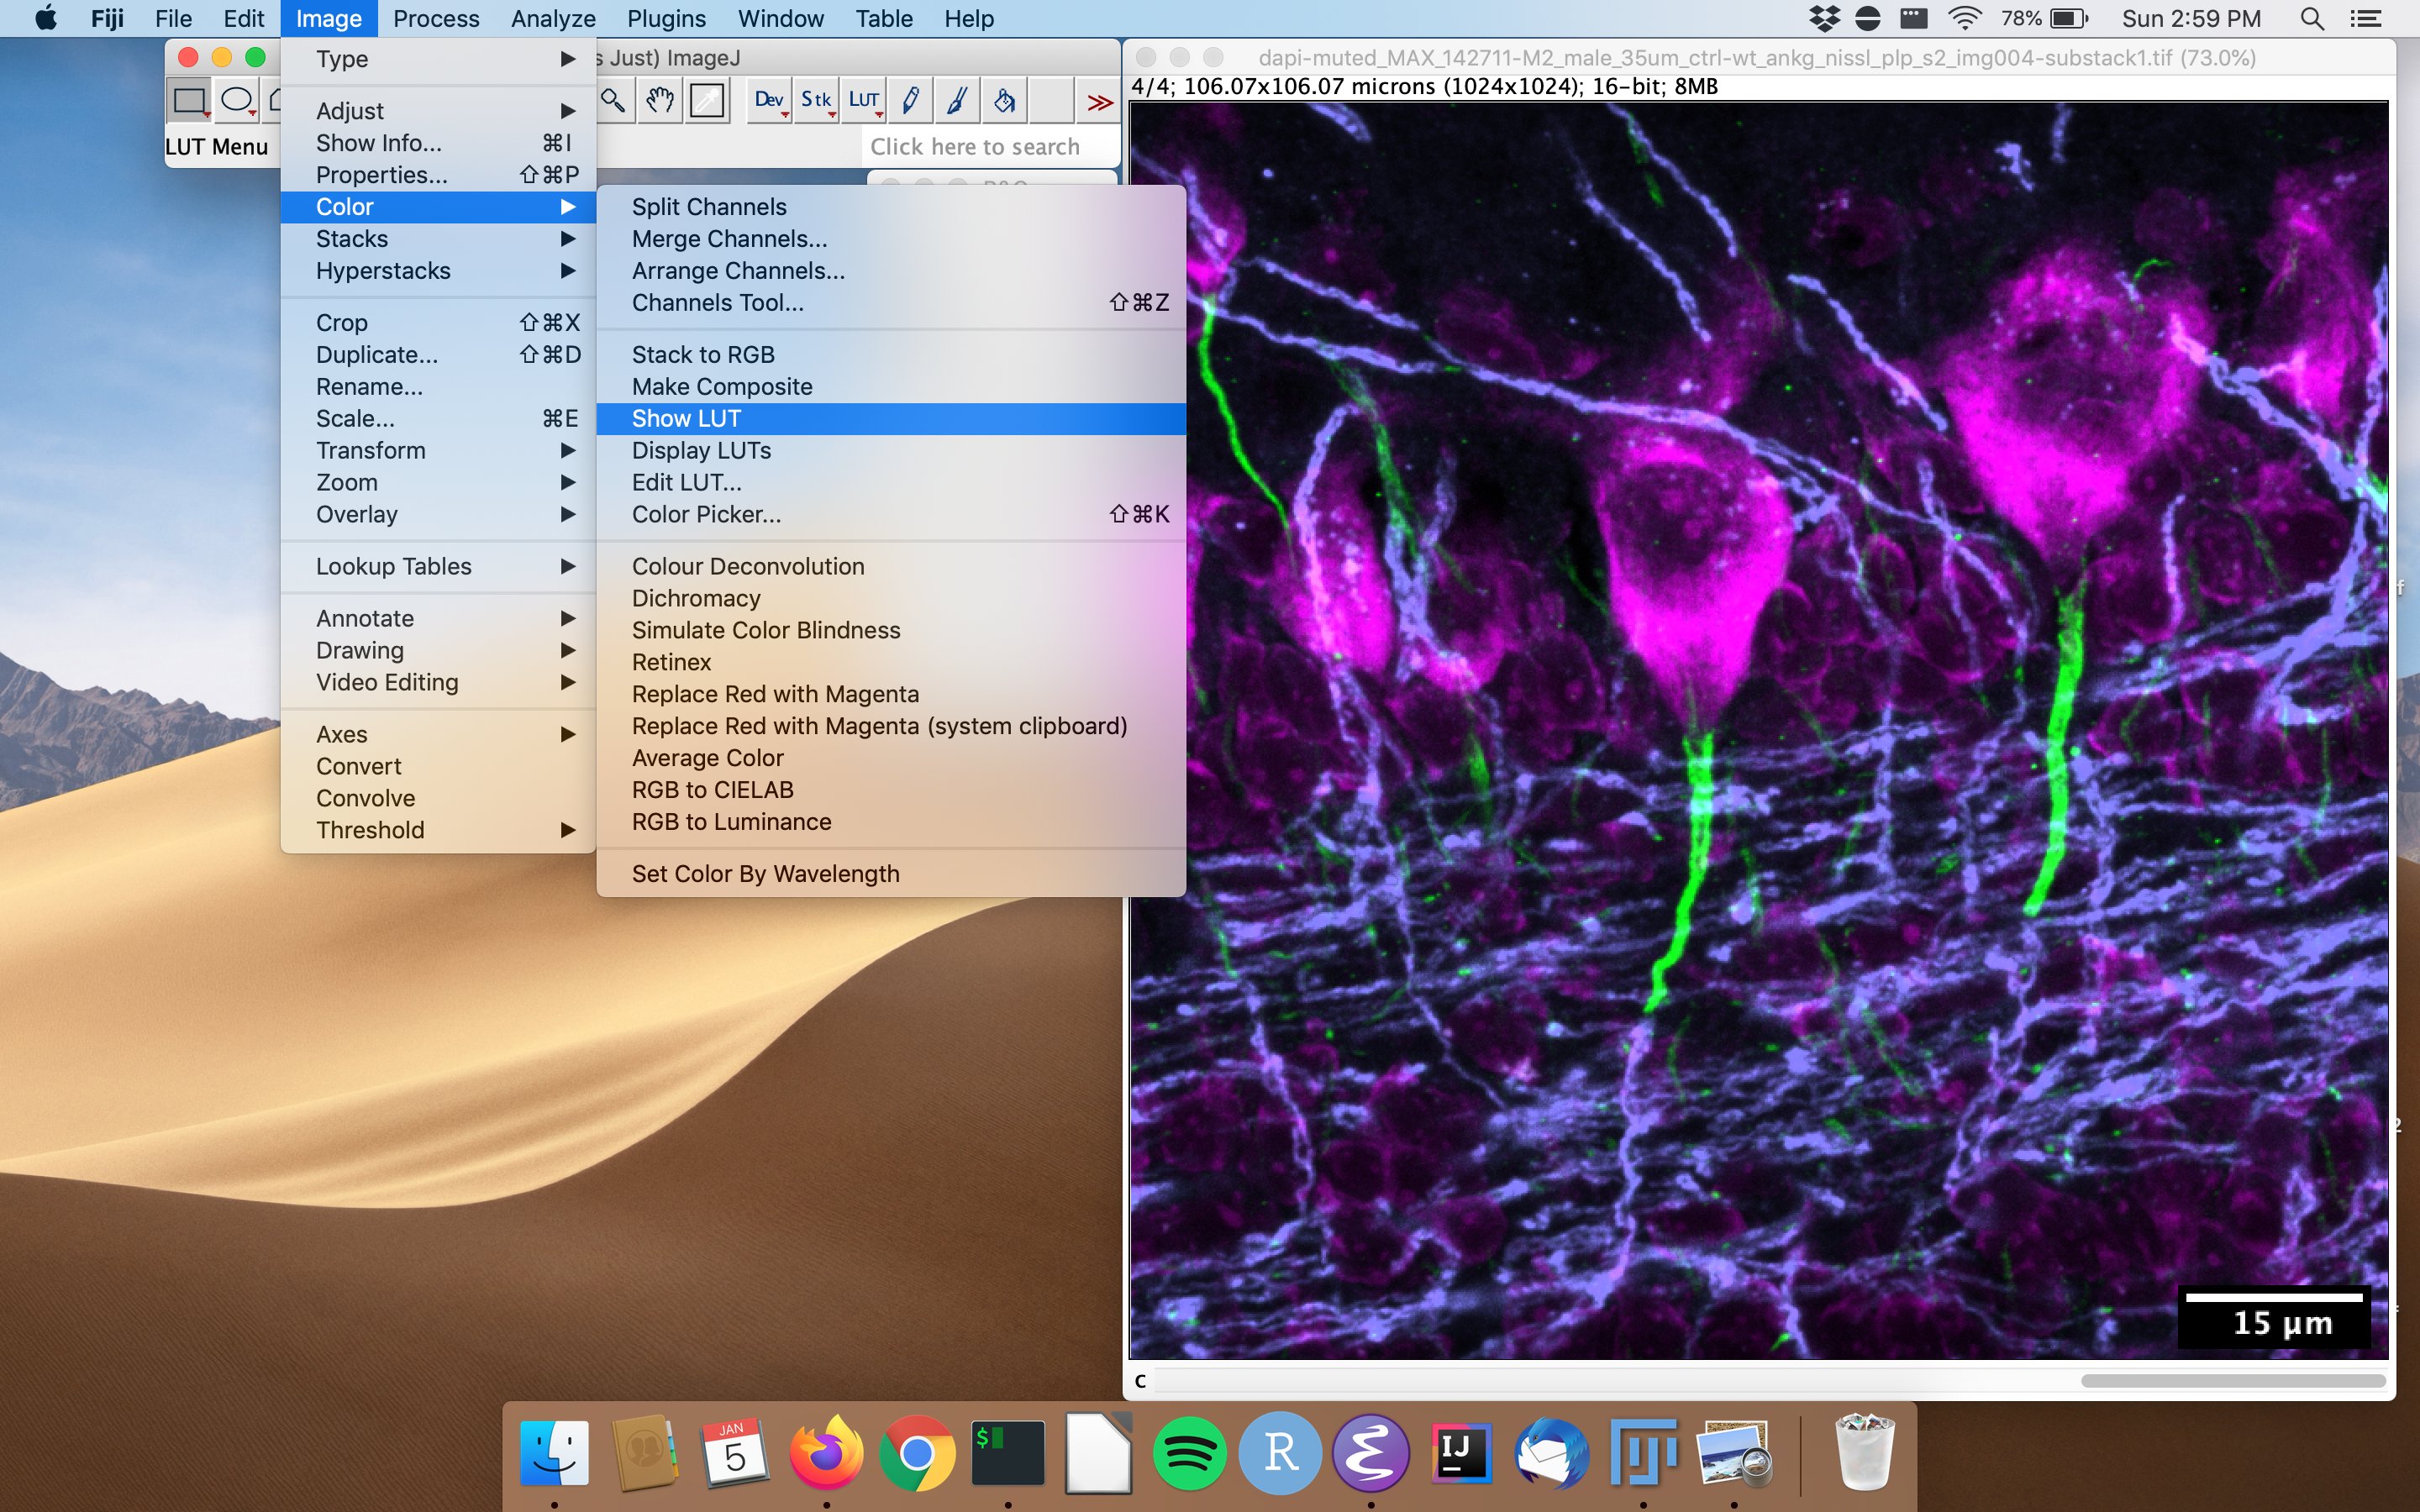
You can view the raw values of the LUT by clicking Image>Color>Show LUT and clicking "List" on the resulting window.

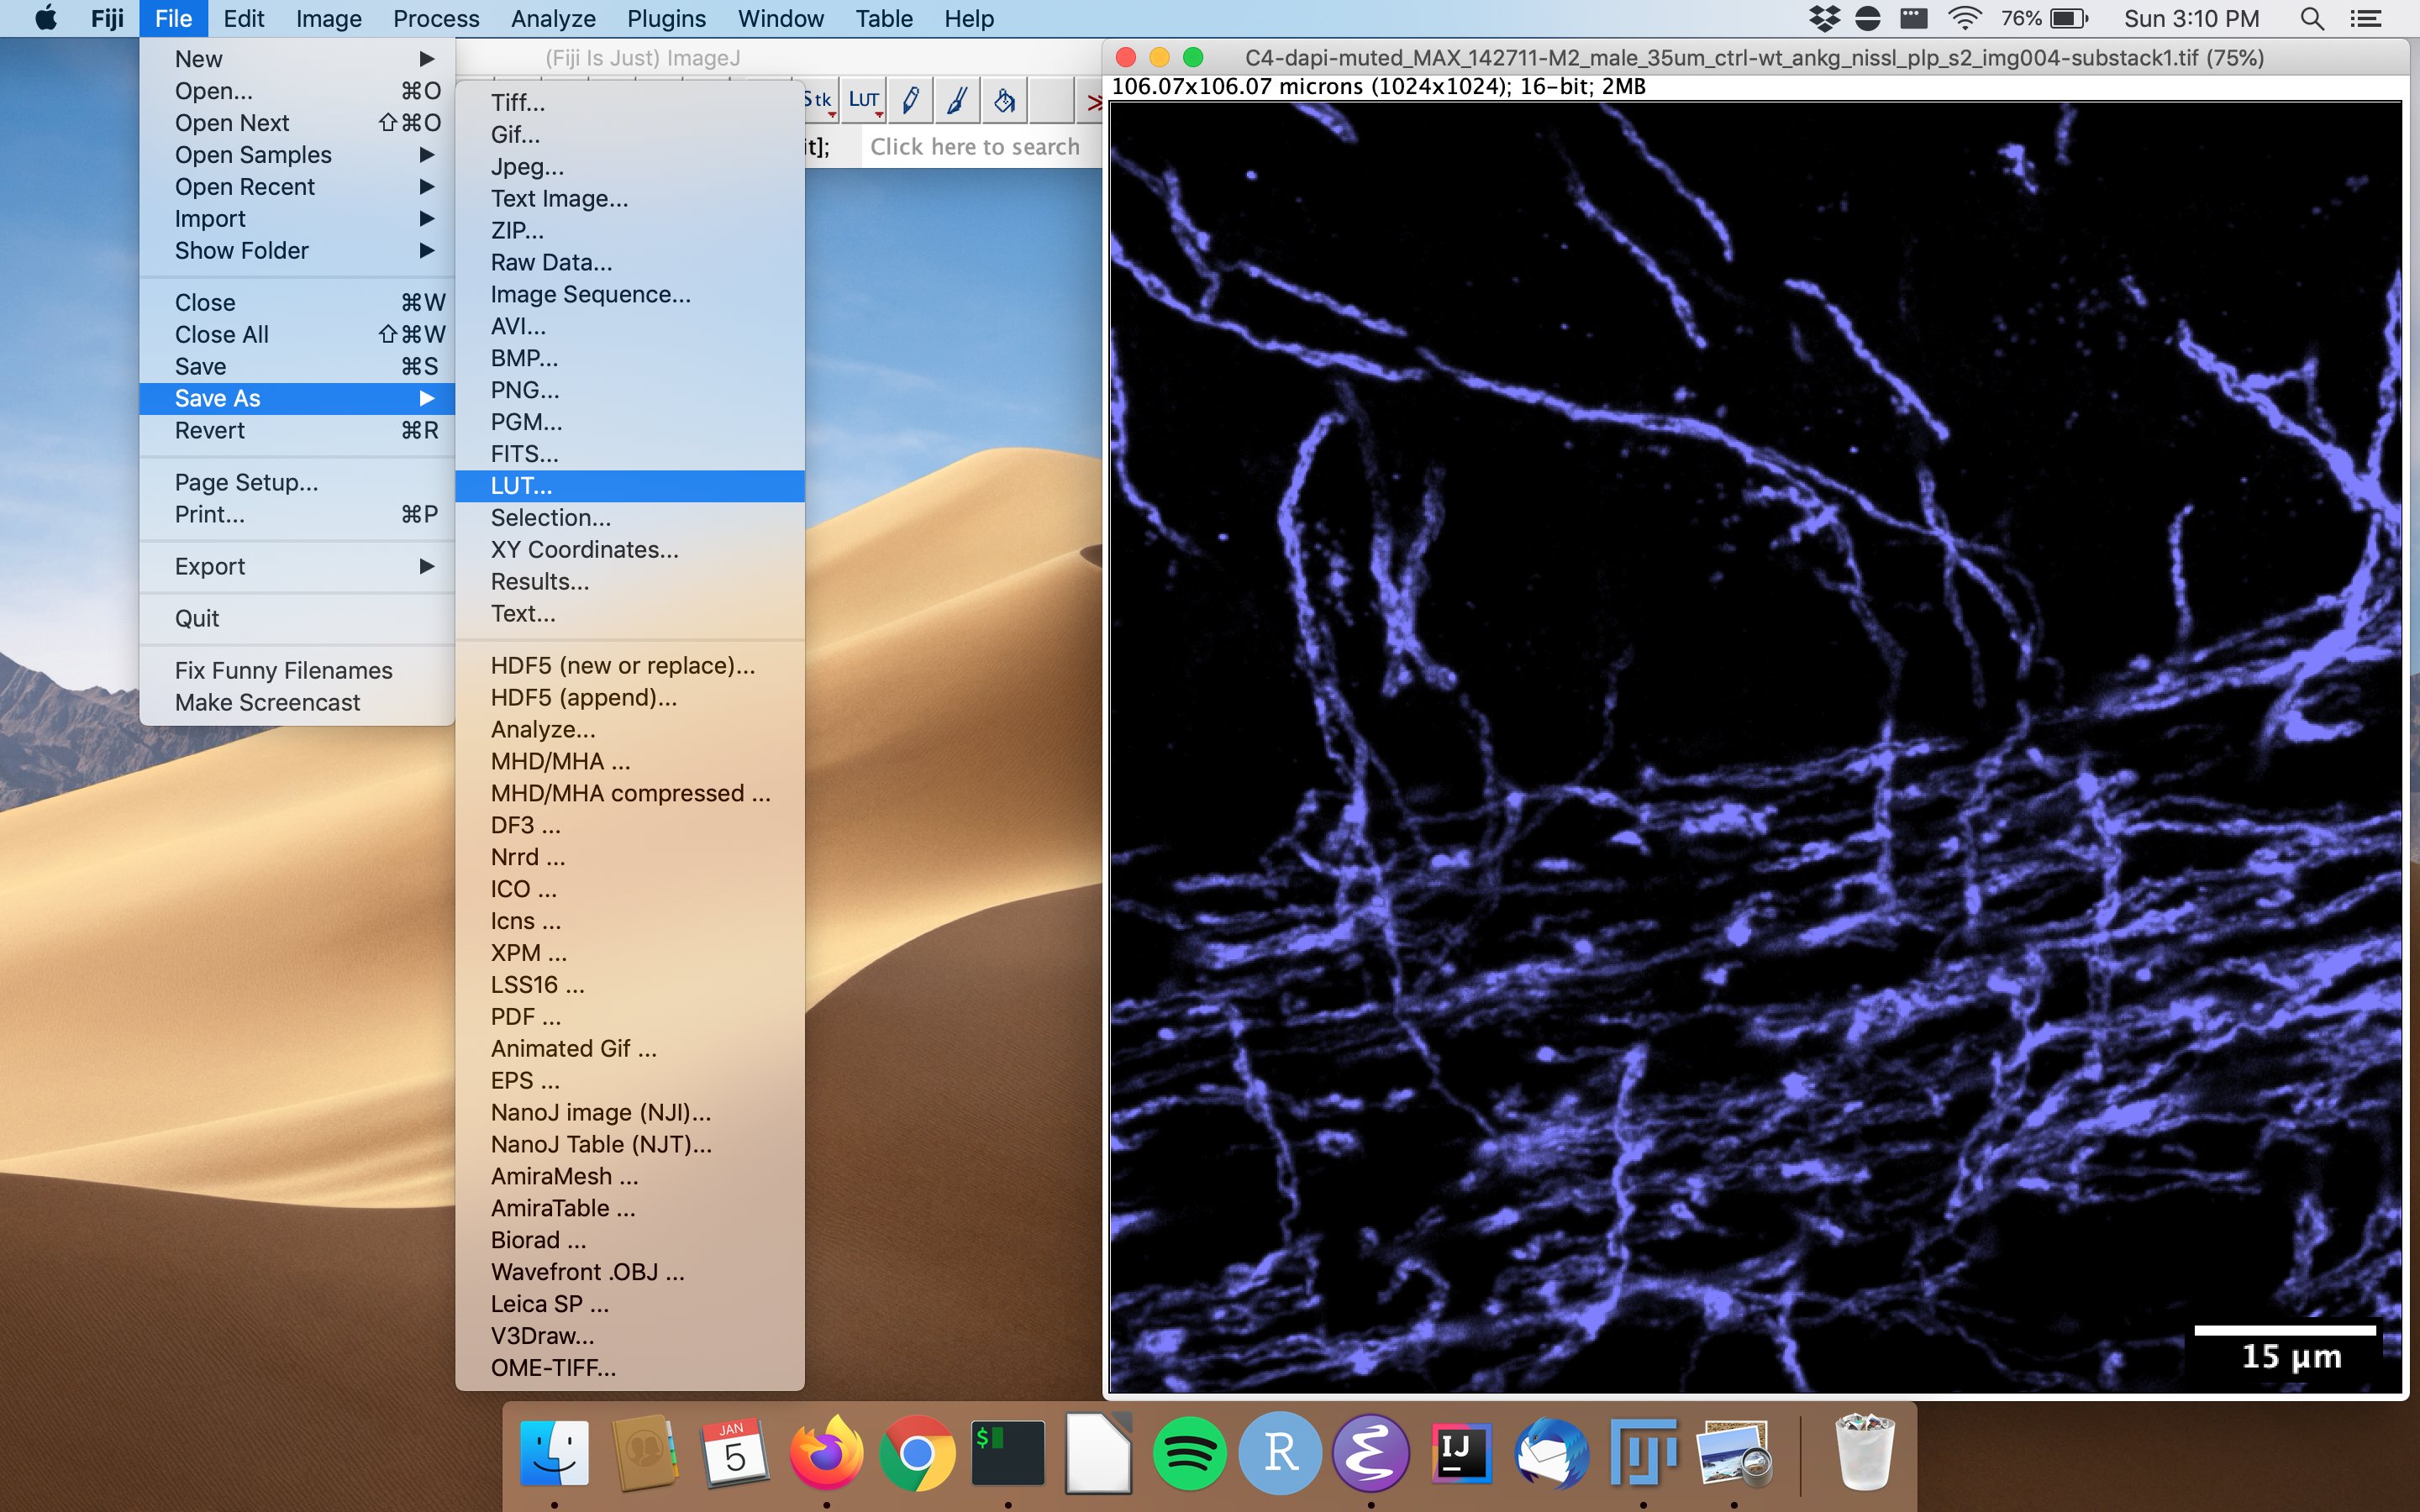
- Split the channels so only your channel of interest is showing (
Image>Color>Split Channelsclose all unrelated channels), and save this as a LUT by clickingFile>Save As...> LUT.... I saved mine asmylein-test-lut.

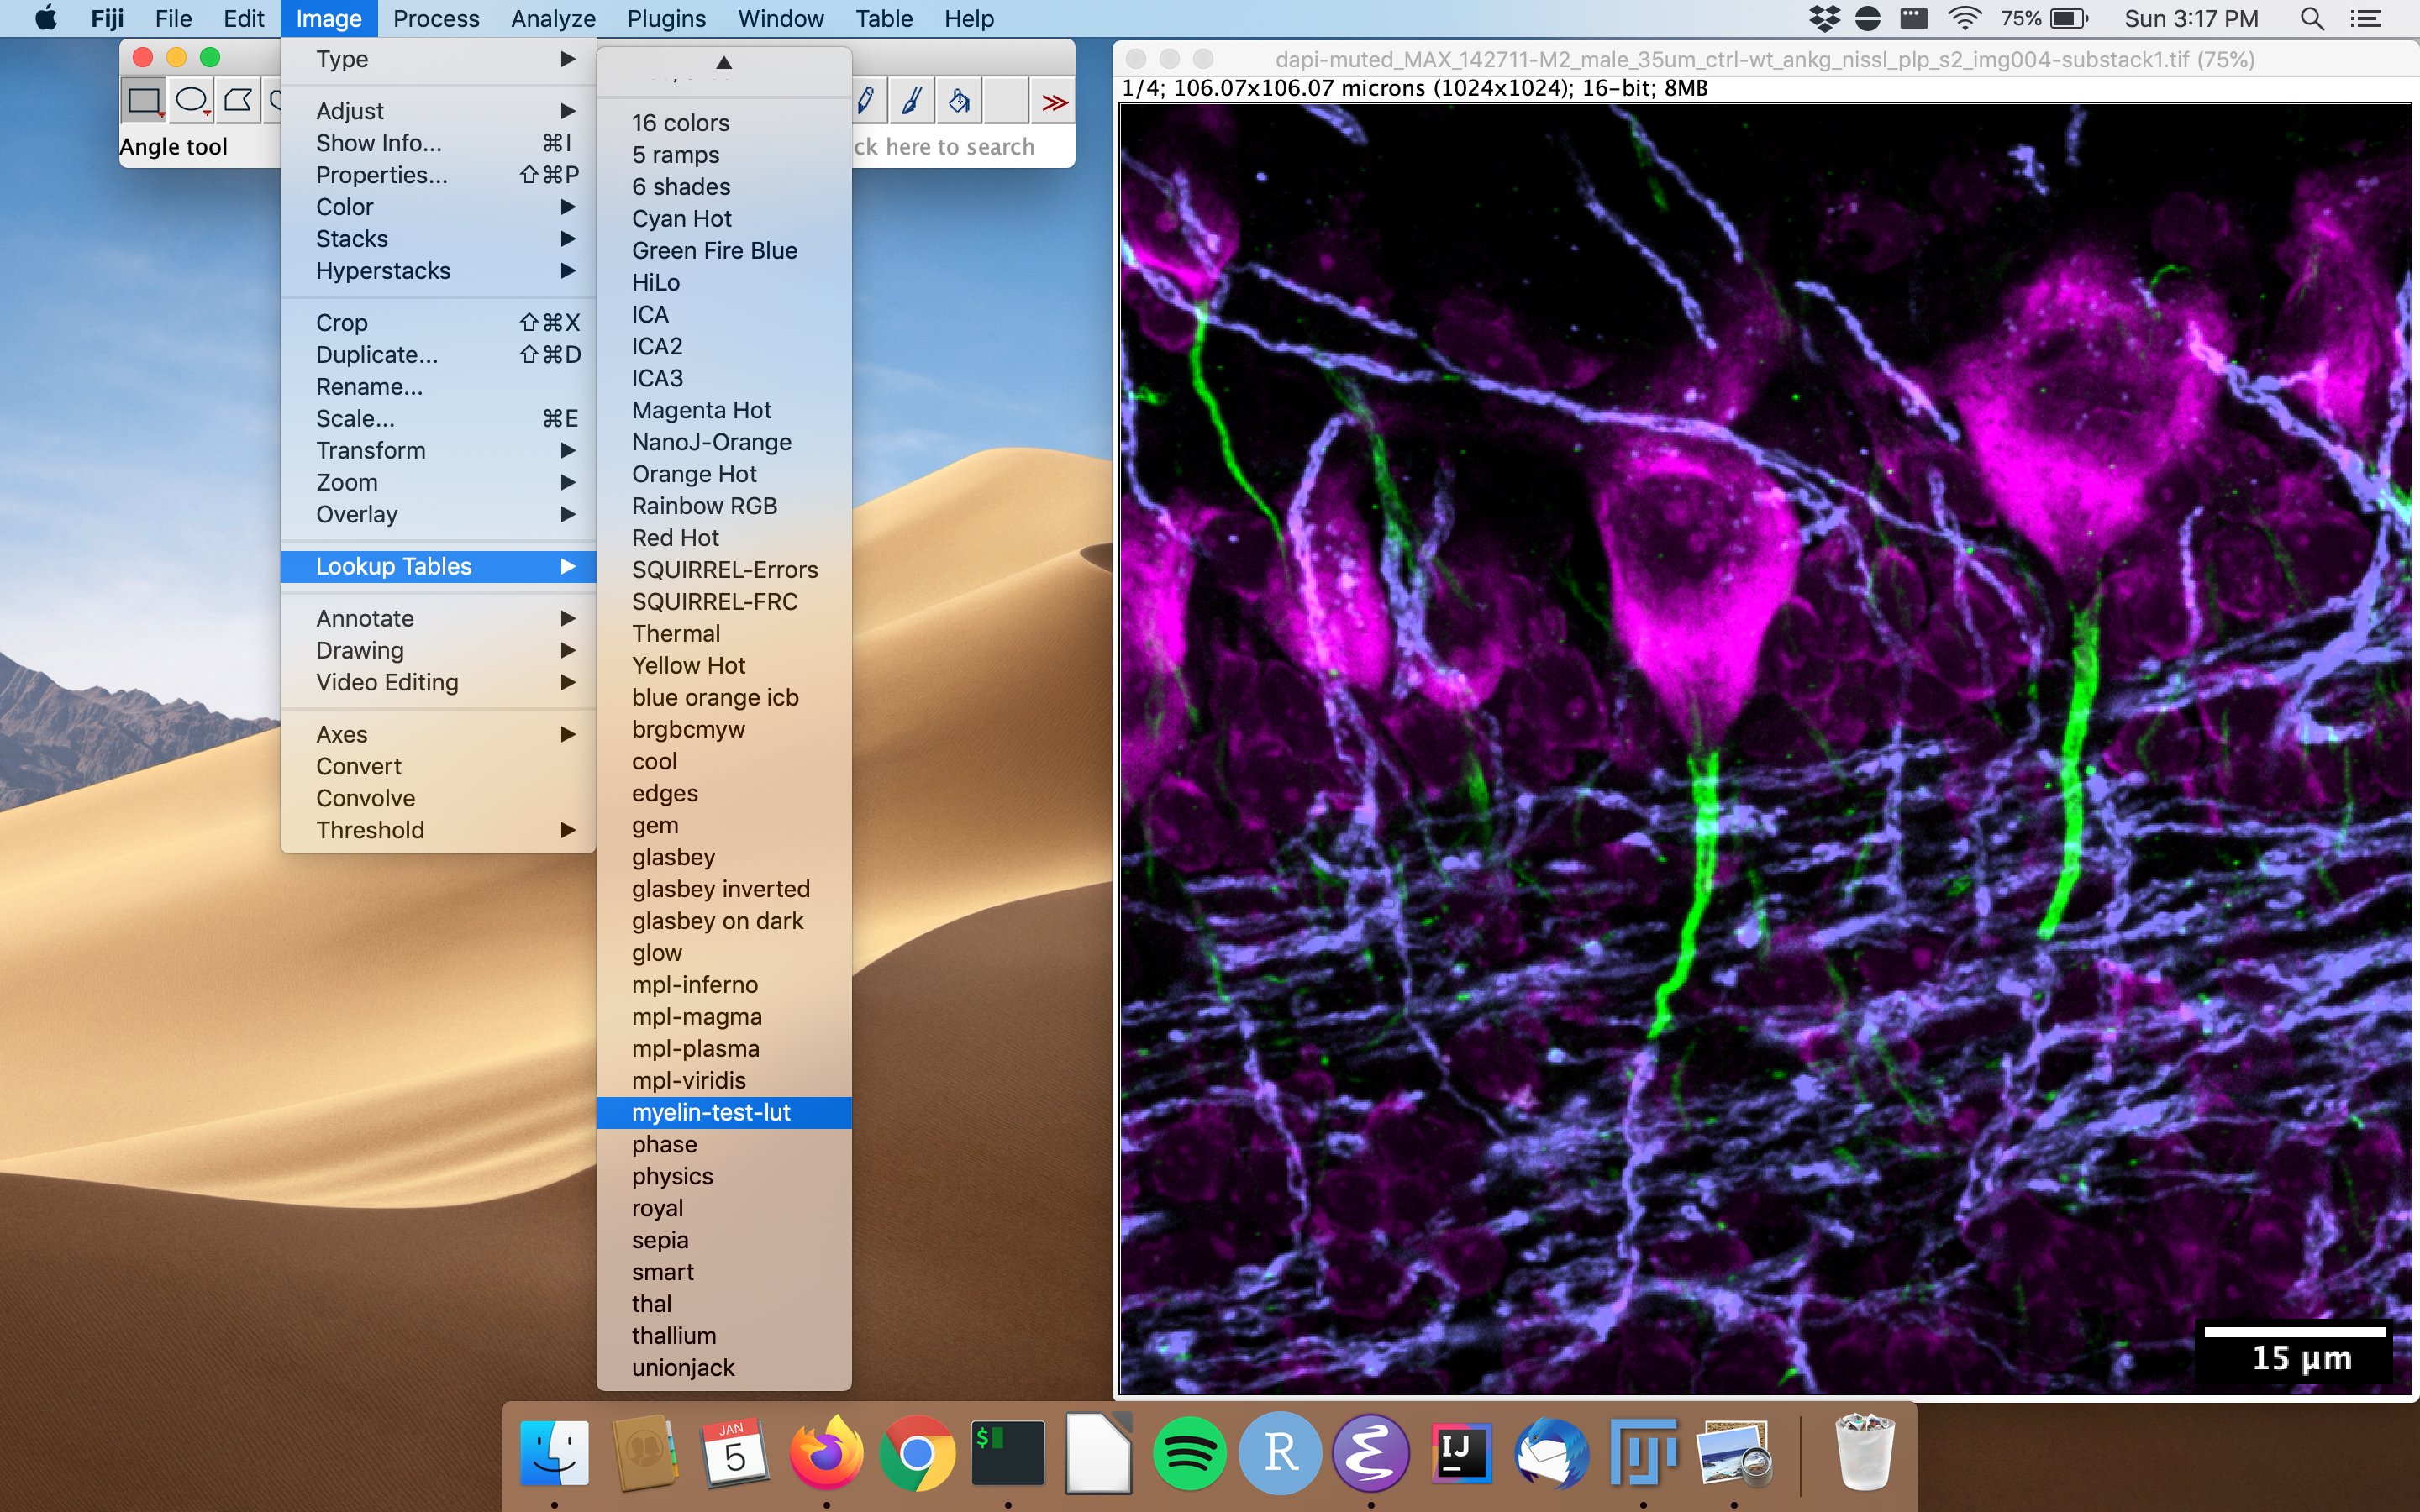
- Move this file to
Fiji.app/luts/directory. - Close and re-open Fiji and you should see your new LUT in the options menu
